Darth Maul Horns: How I Made Horns for My Darth Cobra Costume

The Darth Maul horns for my new Darth Cobra costume (a mash-up of Cobra Commander and Darth Maul) had to be just right. They were one of the main focal points of the costume. I bought a set of horns online, but they were hallow latex and squishy. I didn’t like how they looked. They also didn’t include the temple horns. Since I decided to make my own temple horns, I opted to just make the entire set.
Creating the Darth Maul Horns
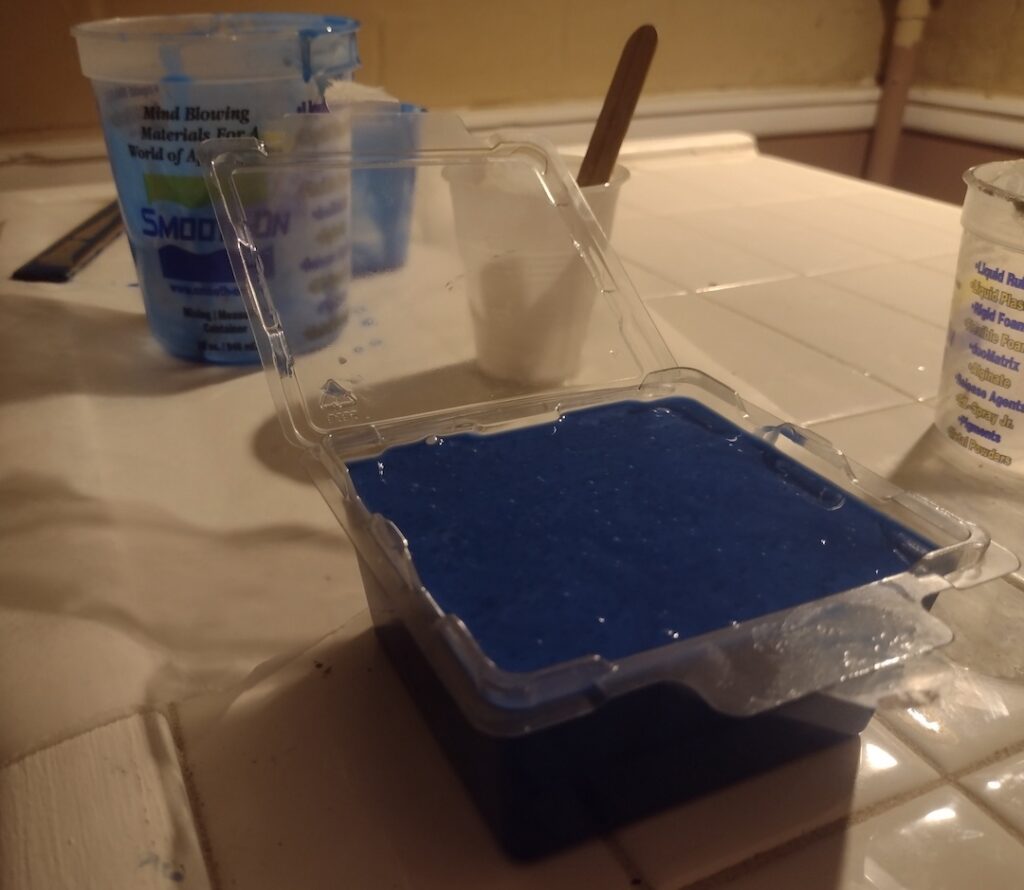
After I sculpted 5 different horn designs out of clay, I used an x-acto knife to give them some texture. Then I used Smooth-On’s Mold Star 30 from Reynolds Advanced Materials to make a single mold of all 5 horns.

After the mold was ready, I used Smooth-On’s Smooth-Cast 325 urethane resin to cast 2 sets of the horns to get the 8 that I needed. I added a bit of Smooth-On’s SO-Strong Color Tints for Urethane. They have a “Light Flesh” color that worked perfectly.
The horns came out very lightweight. The inside was a dense foam texture, but the outside precisely captured the texture and details of the clay horns. The Smooth-Cast 325 expanded a little outside of the mold, so I sanded each one down with a sander and then used a dremel to curve the bases of the ones that sit on the crown of my head so they would sit flush against the hood.

Painting the Darth Maul Horns
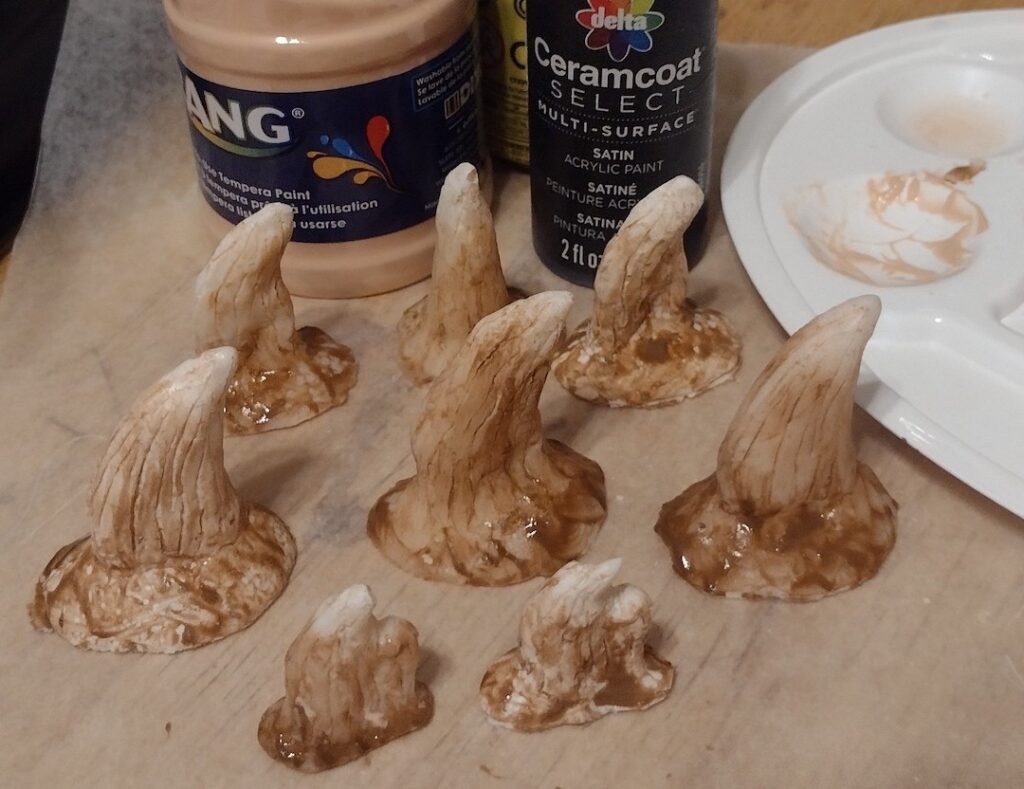
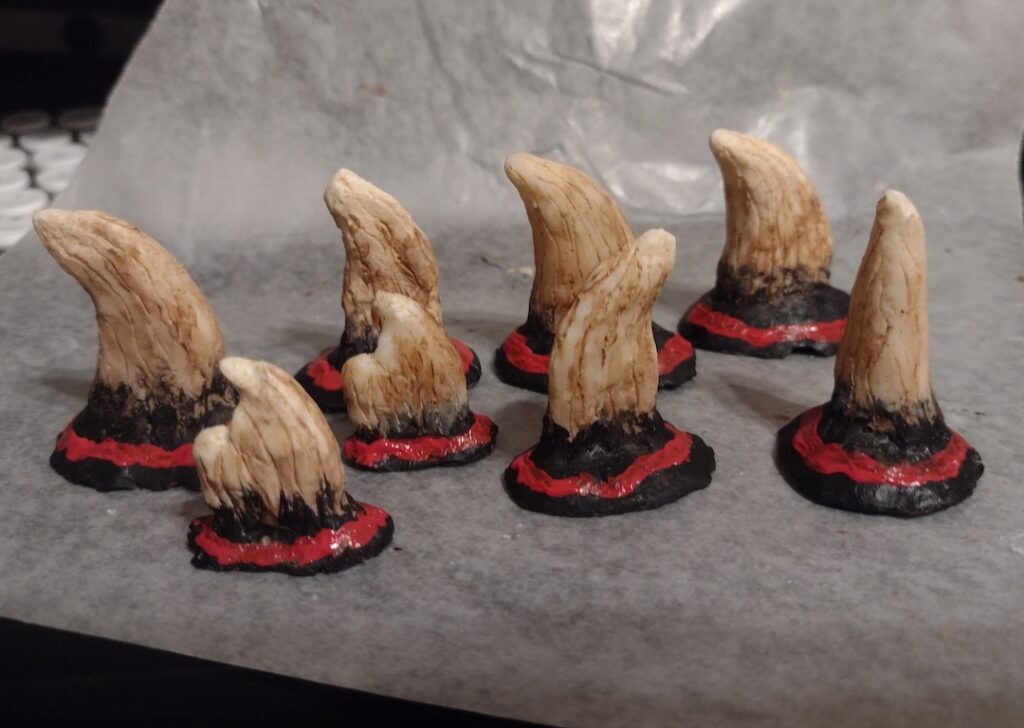
Once they were ready for painting, I gave them a wash in brown paint to bring out the texture, making sure to leave the bone color at the top. After they dried, I went over the creases with brown paint to bring them out more. Then I painted the bases black and added the red lines.

Attaching the Horns
Because the material was a 4-way stretch material, I didn’t want to glue them to the hood with it unstretched. I was afraid that they would pop off from the pressure of the stretched material as I was wearing it. My mannequin’s head was too small to stretch it out enough and I didn’t want to risk glue seeping through the fabric and sticking to my hair.
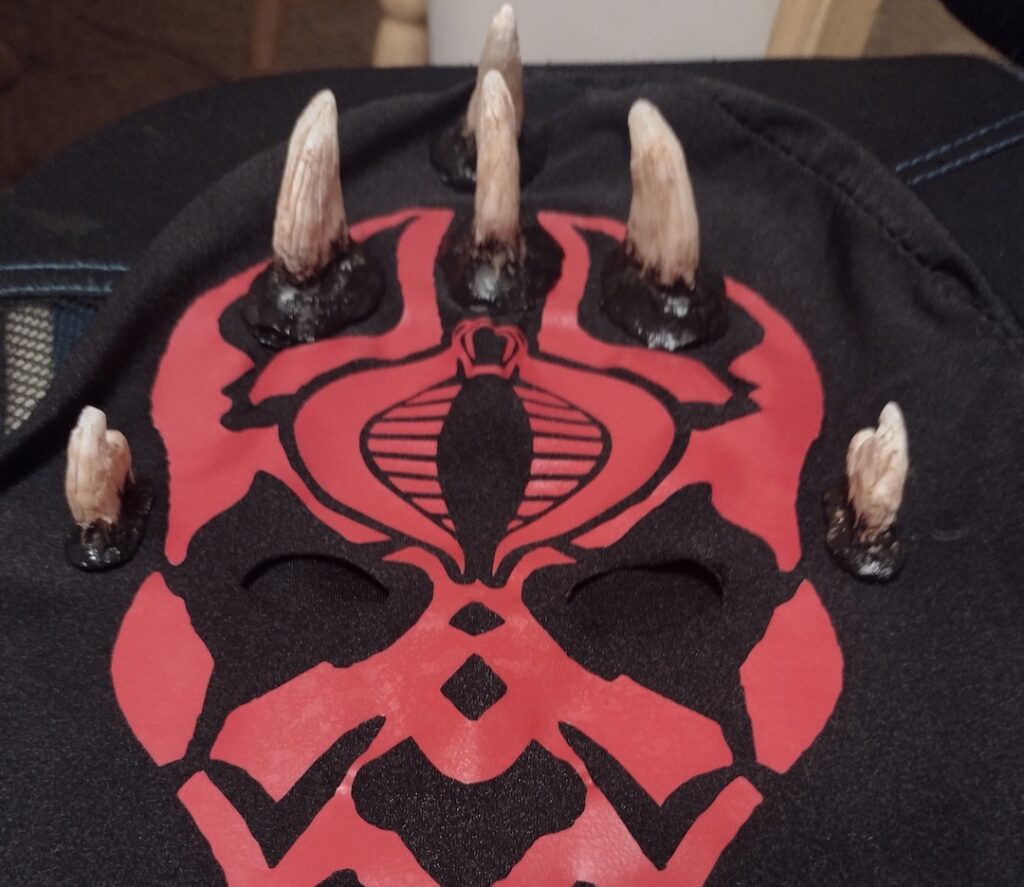
So I made an aluminum foil cap to wear under the hood to add the contact cement on the locations where I wanted to place the horns. I marked the spots using chalk to make sure I didn’t add too much contact cement in any one location. That also helped me see where they needed to go without my glasses. Then I attached the horns and walked around for 15 minutes with the hood on waiting for the glue to dry.

Once the contact cement dried, there were some areas where I had too much glue and others with too little. So I used a black sharpie to paint over any excess glue that I couldn’t scrape off. Then I used Aleene’s Original Super Fabric Adhesive to reinforce any parts of the horn bases that weren’t fully attached to the hood.
The horns held up all day for the costume debut at New York Comic Con. I’m happy to say this process was a success. ![]()
Check out this video for a start-to-end tutorial with tips on how to make Darth Maul horns:

No responses yet